
10 Photography Tips for Out on the Trail

The time spent out in nature with your family can be some of the most rewarding and special time there is. Capturing those memories with your camera doesn't have to be complicated. Below are a few tips and tricks to get you started on your way to taking great photographs of your family out on the trail.
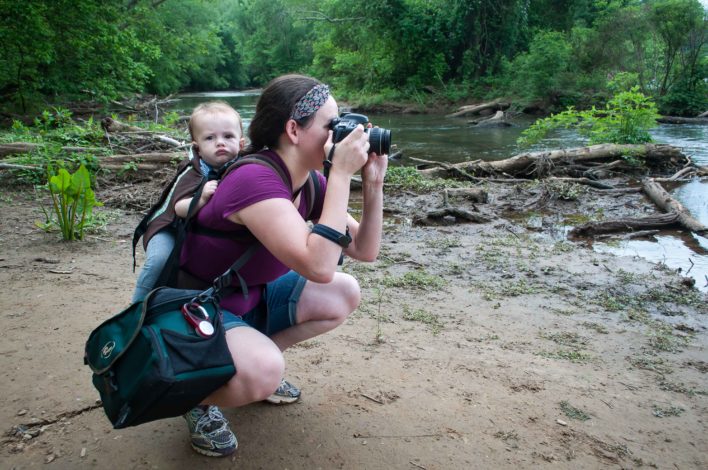
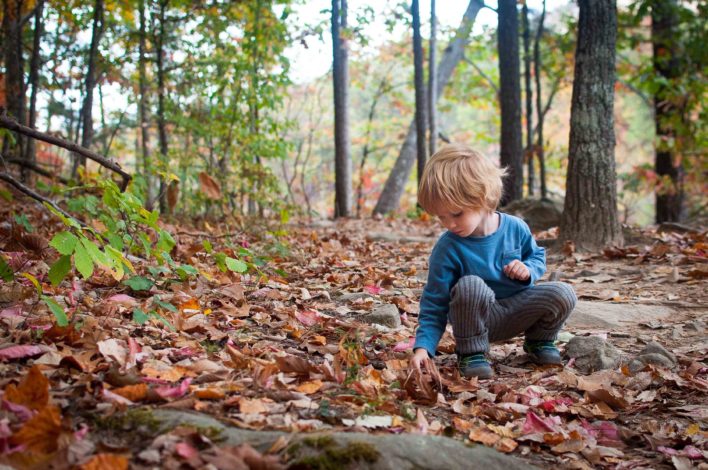 photo by Melissa Hollingsworth
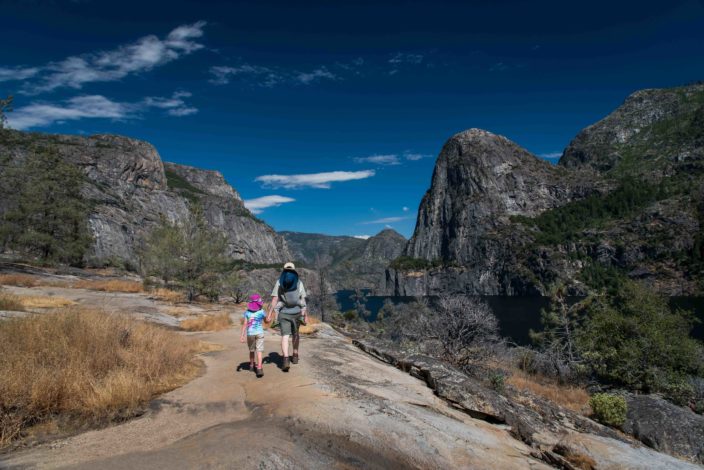 photo by Melissa Hollingsworth
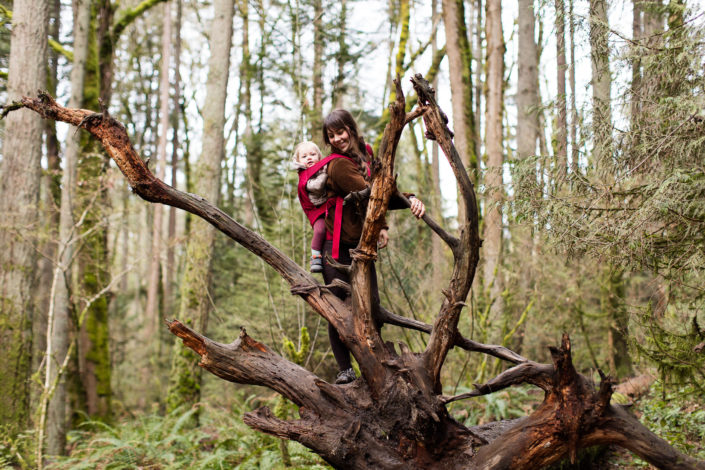 photo by Tais Kulish
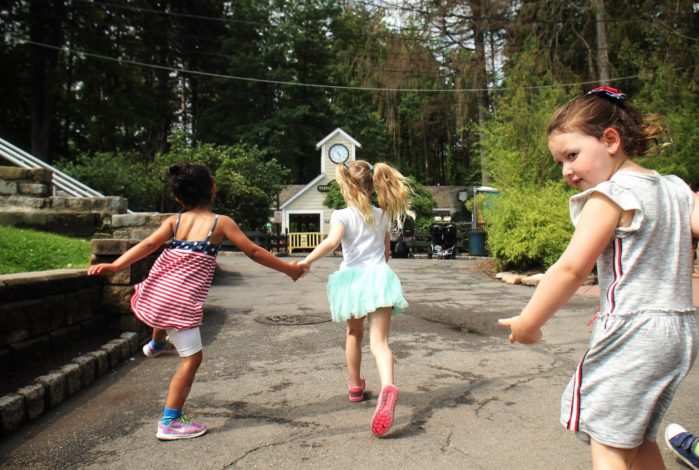 photo by Ali Chandra
Have Your Camera Ready
It does no good to bring your camera out on the trail with you but have it tucked away where you can't access it at a moment's notice - In October we'll be bringing you a gear review on carrying your camera.Get Down Low
When photographing children, get down on their level. You'll get a better view of their face that way and it provides a look into what the world looks like from their perspective. As an added bonus you'll get more beautiful scenery in the shot as the camera is pointing out at the horizon instead of down on the ground. photo by Melissa Hollingsworth
Get Up Close
Let your subject fill the frame. This might be a head and shoulders shot for a great expression (or maybe closer) or a head to toe shot for a two year old bending down playing in the dirt. Don't be afraid to get close. Play around with using both zoom and physical proximity to get the shot. Both have interesting effects.Make Memories with Landscapes
Don't forget to document the amazing scenery you hike through. Yes, you want to get up close, but you also want to go wide, really wide. When taking a "landscape photo" include your family in the frame. Maybe they are hiking down the trail off in the distance, or playing on the banks of a vast river. By including people you tell a larger story than just a shot of the mountains alone. This is your story, your adventure, so be sure to let people know you were there. When framing the shot, try to keep your horizon line perfectly horizontal. That will make the difference between a snapshot and a stunning photo. photo by Melissa Hollingsworth
Keep an eye out for interesting visual elements
Maybe it's a fallen log, a unique rock formation, a root ball of an upturned tree or a pretty bend in the creek. An interesting background makes for a more interesting subject. photo by Tais Kulish
Stop and play for awhile
Once you find an interesting spot, stay there awhile. So often on trail we focus on getting to the end as our goal, but free play in nature is just as important, if not more. Plus, it allows time for some great photographs. A shot of your child interacting with nature is far more memorable than a shot of them walking through it.Put the sun behind you
Pay attention to the lighting as you travel down the trail. Where is the sun? If the sun is behind you it means your subject is lit up. If it is in front of you your subject's face will most likely be in shadow. Also, the lower the sun is in the sky, the better the lighting. Soon after dawn and just before dusk make up the time called "magic hour" when the sun's natural light is at its best. Noonday, with the sun directly overhead, should be avoided if at all possible. The overhead light creates deep shadows over the eyes and overall harsh lighting.Shade or Sun? Pick One
Snapping a quick photo these days is so easy with fully automatic settings. In regards to exposure, that means that your camera takes a measurement of the amount of light in a scene and adjusts your aperture and shutter speed accordingly to get the perfect picture. It's calculations for bright sunlight and deep shade are very different, but if done correctly can result in a beautiful exposure every time. When you start to mix a lot of shade and sun in one shot, that's when it gets complicated. As it makes its measurements it can ultimately only choose one exposure setting for that shot, which usually ends up being in the middle of what is needed for both instances. This means that neither the shady spots or the sunny spots in the photo are properly exposed. Keep your subject entirely in shade or entirely in sun for a better exposure. If your background matches your subject even better.Choose a fast ISO
Asking your subjects to hold still for a photo when they are 2 and 3 years old is like asking a penguin to fly. It's just not going to happen. A simple change in your camera setting means you no longer have to ask for the impossible. ISO is sometimes called "film speed". Most of us aren't shooting film anymore, but it still applies to digital. The higher the ISO number the faster the "film speed" and the faster the "film speed" the faster your subjects can move. Think of your kids as athletes: ISO 800 and above is generally recommended for action sports photography. Check your camera's manual for how to manually change the ISO. On a phone camera, it may be as simple as selecting the "action" setting in your camera's menu. Do this next time before your hike and when your 3 year old starts racing toward you down the trail you won't miss the shot! photo by Ali Chandra
Always Remember to Have Fun
The photo you take is only as special as the memories you capture. I know sometimes I can get into what I call "photo mode" where the most important thing in front of me is to get the perfect shot. In reality, the most important thing in front of me is my children that I'm trying to photograph. Don't get so caught up in the photo that you forget to make the memories. If your children don't feel like being models that day, put the camera away and play. There will always be more hikes and more fun to be had. Do you have any photo tips and tricks you've found helpful for out on the trail? Please share in the comments below!Related Content


Comments