Morrison Outdoors Baby Sleeping Bags Upgrade Family Camping Trips
Helping Babies and Kids Sleep Better When Camping
The number one thing we are asked at Hike it Baby when it comes to camping is, "how do you camp with a baby?". The fear of late-night crying, unsafe sleeping conditions because of all the sleeping bags and pillows around, and the endless layers of PJ's and sleep sacks to get through during a nighttime diaper change can be enough to make a parent hold off on family camping until "later," whenever that is. But when Tavis Malcolm's son Morrison was born he knew there had to be a better way. "We could not find anything that was easy to pack, safe to use, and warm enough for nights in the Colorado backcountry," said Malcolm. "So, in early 2018, we decided to make our own." The result was the Morrison Outdoors Little Mo sleeping bag for babies and toddlers six to 24 months with options for 20- and 40-degree temperature ratings. And earlier this year they launched the Big Mo, extending their size offerings to 24-48 months and a trade-in program to give parents cash-back for sleeping bags after they are outgrown. We asked some real Hike it Baby families to try out the Little and Big Mo sleeping bags on their little ones and this is what they had to say.
Deanna Curry
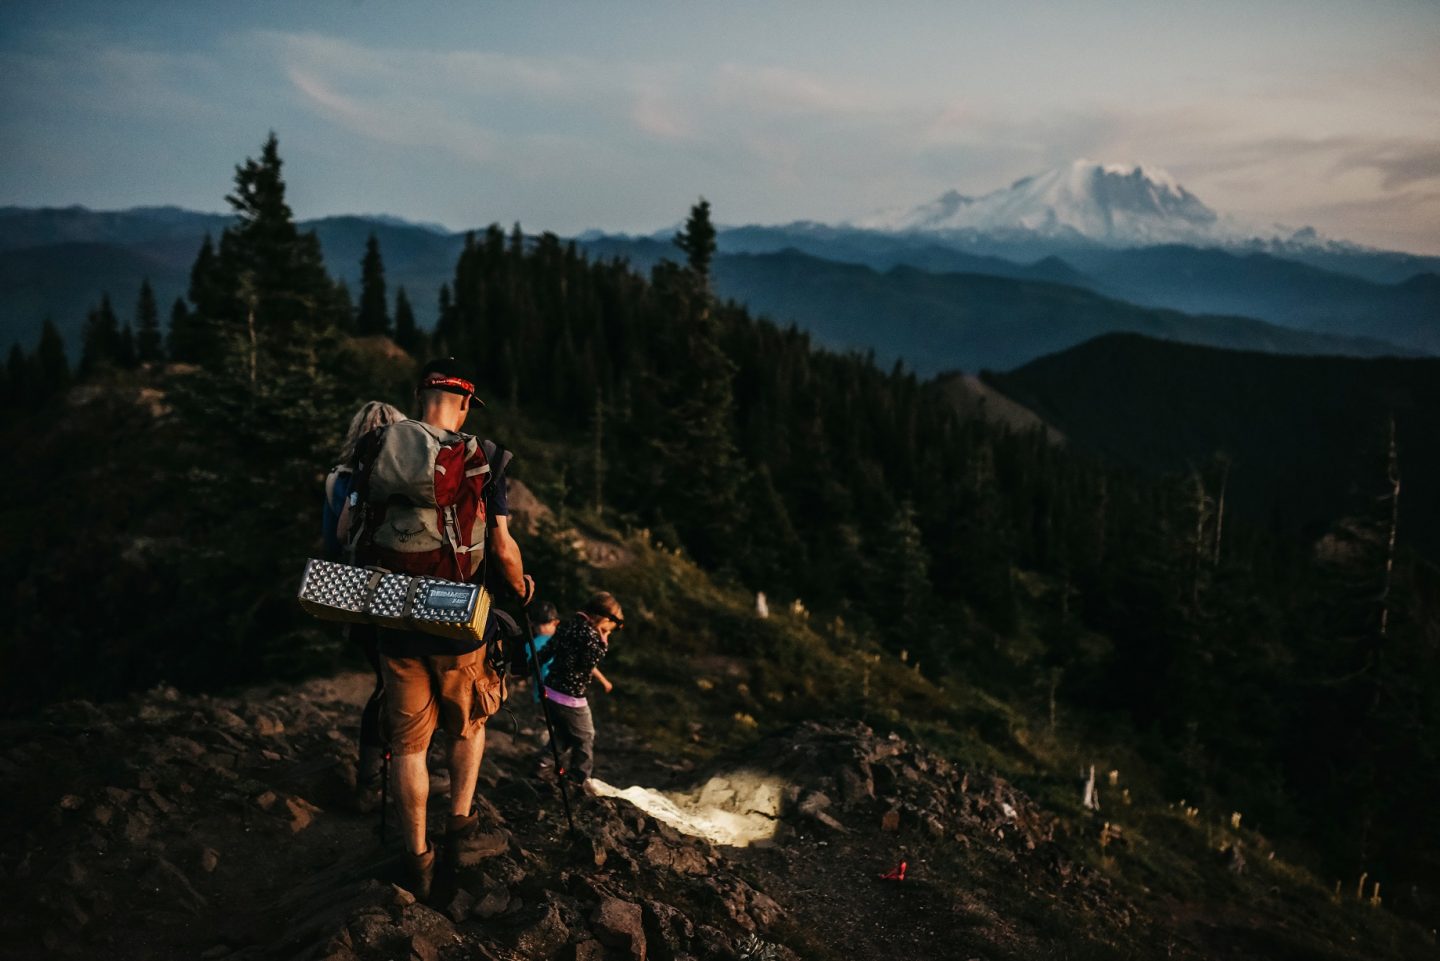
Children: Charlie (7) Joey (1.5) Homebase: Tacoma, WA Favorite place to camp: Sheep Lake and Lake Cushman Instagram: @Shinydayadventures We love our Little Mo!! My daughter Joey sleeps so well in it and I'm able to get a good night's sleep not having to worry about her safety. Joey is small for her age and she has plenty of room to grow with this bag. She can walk, crawl, and move around in the bag no problem! On our backpacking trip, the nights got down into the 30's and she was a perfect temperature in it with just wearing her merino wool pj's. She didn't need a bunch of layers to be warm. Diaper changes during the night are super easy thanks to the zipper at the bottom. You don't need to get baby completely out. It packs up small—barely taking up any room in my pack and is lightweight. This is my favorite sleeping bag for camping and backpacking with babies and toddlers. I highly recommend the Morrison Outdoors bags if you like to camp with littles!
Vanessa Wright
Children: Tatum (2) and Torey (4) Homebase: San Diego, CA Favorite place to camp: It is so hard to pick an all-time favorite place we have ever camped, but probably our favorite place we camped the past year was Jumbo Rocks Campground in Joshua Tree National Park. Instagram: none I am incredibly impressed by our Morrison Outdoors Big Mo 40 degrees sleeping bag. Whoever designed it obviously knows children well and knows exactly what they need, because it is clear every last detail was planned out to perfection. We go camping with our two young children roughly once a month and I feel like most nights I am constantly waking up to check to make sure the kids haven’t kicked off or rolled out of their blankets and traditional sleeping bags. However, with this sleeping bag in the shape of a sleep sack, I don’t have to worry about that and they can roll all over and will still stay warm. I have the sleeping bag sized for 2-4-year-olds and it fits both my just turned 2 year old and my almost 5-year-old, so we will definitely get many years of use out of this bag. The sleeves fold over themselves to keep their hands toasty warm, and the collar is lined with a soft fleece to keep them comfortable, including a cover for the zipper. The sleeping bag has a double zipper which is so useful for quick and warm diaper changes, and the top zipper has an easy to find pull tab. It even comes with its own stuff sack and compresses to a small size which makes it easy to travel with. Honestly, I am so bummed I did not discover this product 5 years ago when my first child was born because this sleeping bag is seriously a camping-with-young-children game changer! I can only imagine how amazing it would be to use their smaller version for babies who are too young to safely use blankets, instead of the battle I used to do countless layers for warmth. I could not recommend this sleeping bag more and can’t wait to use it on future camping trips.
Olivia Taylor
Children: Audrey (4), Callum (2), Natalie (7mo) Homebase: Ashland, OR Favorite place to camp: By a beautiful backcountry lake. Instagram: @hiking.ashland @oli555 We’ve been getting so many compliments on this baby sleeping bag. It’s pretty cool to have something designed specifically to keep my youngest daughter warm while we camp. I can tell the bag is very comfortable with room for her to wiggle and a soft fleece neckline. I’d say this bag is best for babies that sleep independently since doubled up with an adult sleeping bag would be far too warm. It worked well for us, and I can say it was the best camping sleep ever since she snoozed away the whole night without needing any comfort nursing. Score!
Elicia Giffin
Children: Will (1.5) Homebase: Olympia, WA Favorite place to camp: Trillium Lake with our little one and puppy dog IG: @elgiff2 On Will's first camping trip at 6 months old, a friend said, "You have to borrow my kiddos new sleeping bag!" Lo and behold she dropped off the Morrison Outdoors bag and I was so thankful! Will was still getting swaddled but could roll over, the bag kept arms free, but still gave the security of a swaddle. Nights dropped into the '40s, but when we went to bed and I checked Will's forehead and felt great about the temperature. This time around Will is a lot more wiggly, so getting into the bag is a challenge. It's been warmer nights, so once sleep has fallen, I unzip the bag since toddler sweats are real and I don't want to be worried about overheating. We are big fans of the Morrison Outdoor Sleeping Bag and would 100% recommend you try it for your kiddo on your next adventure!
Kiera Wickliffe Berger
Children: Nathan (2) and Daniel (5) Home base: Eastchester, NY Favorite place to camp: Red River Gorge Instagram: @asterdreaming We had been having perfect camping and sleeping bag weather for our COVID backyard camping, but unfortunately, as soon our Morrison Outdoors sleeping bag arrived, it brought summer temps that stayed too hot at night to use as it’s not recommended for use in temperatures 60 degrees and warmer. When it arrived, the company had accidentally sent the wrong size, but their customer service is amazing! I emailed them with the order number and what happened, not expecting to hear from them for a day or more because of COVID. I heard back a couple of hours later and they shipped the sleeping bag with a return label for the other that day. While we haven’t gotten to use it for camping yet, my son loves to grab it and wear it in the house for a bit. Just about everything is perfect. The length is great. He has room to grow up. The body as well as the neck is wide enough for someone his body shape and size. I thought he would have issues with his hands being covered, but he has none. The one issue we have with it for the short times we have used it is I feel that we will soon rip the armpit seam. Because of the arms being a bit tight and no give in that area, a toddler his size that’s an active mover when trying to go to sleep or while sleeping may end up with a rip here. We have already noticed the seams straining a little bit in the right armpit area. Otherwise, it seems to be made really well. It seems like the perfect solution to keeping little arms and hands warm. I’m really looking forward to using this as the weather cools! It seems perfect for around the tent, both before, during, and when they wake up. Make sure a good night's sleep isn't the weak link on your next camping trip. Check out Morrison Outdoors baby and kids sleeping bags for your next backyard or wilderness camping adventure.
Hike it Baby works to be the most effective hub of tools, information, and community inspiring all families with babies and young children to get outside and connect with nature. Learn more about Hike it Baby's mission and how you can get involved.
About Hike it Baby
Hike it Baby is a 501(c)(3) non-profit organization dedicated to getting families outdoors and on trails across the U.S. and internationally, supporting, educating and inspiring families through their more than 300 communities across North America. Since its grassroots inception in 2013 in Portland, Oregon, Hike it Baby is now a growing community of 270,000 families and 500 volunteer branch ambassadors hosting more than 1,600 hikes per month. More information, as well as daily hike schedules, can be found at HikeitBaby.com, Facebook, YouTube, Pinterest, and Instagram.
Images courtesy of Deanna Curry, Vanessa Wright, Olivia Taylor, Elicia Giffin.
Editors Note:
We hope you enjoyed reading this article from Hike it Baby. We’re working hard to provide our community with content and resources that inform, inspire, and entertain you.
But content is not free. It’s built on the hard work and dedication of writers, editors, and volunteers. We do not make this ask lightly, but if you are able to afford it, make a donation, and become a Hike it Baby member. A membership also makes a great gift for that new parent in your life. We make an investment in developing premium content to make it easier for families with young children to connect with nature and each other. If you can, please make a contribution and help us extend our reach.
This post is sponsored by Morrison Outdoors. However, we would not recommend something that our children do not love. Our opinions are our own or those of the authors.

 Winter can be tough for people like us who love the outdoors. When the sun sets early and temperatures plunge, it can be tempting to cuddle up inside by the fire rather than bundle up for an outdoor adventure. But the shorter days and longer nights of winter do offer something that warmer, longer days don’t: night hikes. Since the the sun starts to dip behind the horizon well before bedtime during the winter, a night hike could be the perfect way to spend the evening. “Every winter we take advantage of the early darkness and we host a big glow hike for our branch!” says San Diego Branch Ambassador Vanessa Wright. “All the families come out with their flashlights, lanterns, head lamps and glow-in-the-dark toys, and we pass out a bunch of glow sticks to share. We make sure to pick a safe and easily accessible trail. It is always a group favorite!”


Comments